You know that coffee cup you rarely use, even though it's gorgeous? I had one of those that a good friend gifted me a long time ago, but I don't use it often, because it's wide at the mouth and the coffee cools off too fast (I'm a notoriously slow coffee drinker).
Anyway, I decided I'd like to look at the cup more often and wanted to make a planter out of it. The problem was drainage. I'd heard that it's basically impossible for a novice to drill a hole in a ceramic cup. This turns out not to be true.
First, a word on cordless drills. If you don't know how to use one, it's time to learn. I don't care if you're a 105-pound woman with absolutely no interest in tools and a husband who does most of this stuff for you. You need to learn because it will feel awesome and empowering and make a ton of little projects easier. If you have no idea where to start, email me--I was clueless about cordless drills until recently.
Anyway, to drill a hole in a ceramic cup, you can use a diamond-tip drill bit, but don't need one. I don't have one, so I plowed ahead with the set that came with my drill. (My drill is similar to this one, but a 14.4 volt.) I started with the smallest bit in my set. I drilled and drilled, stopping occasionally to blow away the ceramic dust and make sure the bit hadn't burst into flames. Starting is the hardest part; it takes forever to bust through the glaze. You'll drill for five minutes and make an absurdly small divot in the bottom. Don't give up. If you break a couple bits, it's okay (I did).
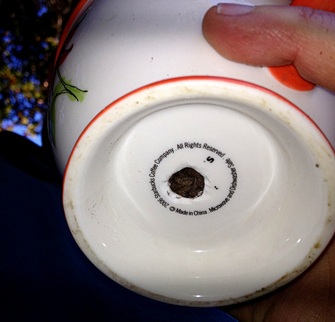
Once your wee divot appears to have gotten through the glaze, switch to a slightly larger bit, maybe 1/16". Don't apply much pressure, but enough to keep the drill steady and firm--about as much as you'd apply to an overstuffed deli sandwich that you're trying to squish down so you can take a bite. Adjust the angle occasionally. Adjust to a slightly smaller or larger drill bit. Vary it. Hum a tune. Check your watch. Talk to the cat. Try to keep your eye on the drill. When you least expect it--and probably when you're using your smallest bit--you'll penetrate through the cup! Whoa! Give yourself a second to bask in the glory of it!
Next, switch to the next size drill bit up, to widen the hole. Then the next size up, then the next, then the next--you get the idea--until the hole is the size you want it. I always adjust the angle of the bit, too, chipping away at the edges of the hole a teeny bit at a time. Like I said... this project requires patience.
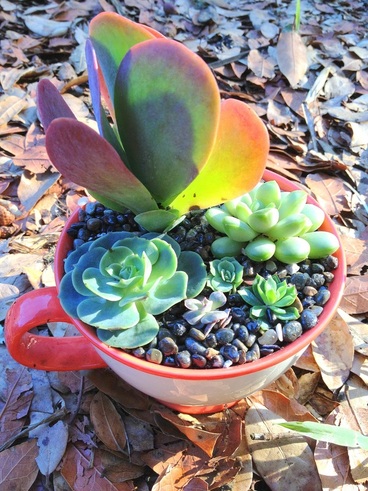
When you're done--kabaam! You have a cool planter that you can dress up any way you like. To the left, you can see the one I made. I used a paddle plant that was wallowing in a too-large container, then added some different-sized rosettes around it and finished it with some small, multicolored rocks. I was pleased with how it turned out, and it's currently brightening up my kitchen.
Next, switch to the next size drill bit up, to widen the hole. Then the next size up, then the next, then the next--you get the idea--until the hole is the size you want it. I always adjust the angle of the bit, too, chipping away at the edges of the hole a teeny bit at a time. Like I said... this project requires patience.
When you're done--kabaam! You have a cool planter that you can dress up any way you like. To the left, you can see the one I made. I used a paddle plant that was wallowing in a too-large container, then added some different-sized rosettes around it and finished it with some small, multicolored rocks. I was pleased with how it turned out, and it's currently brightening up my kitchen.


 RSS Feed