GARDENING SUCCS
You say "obsession" like it's a bad thing.
  • Blog
  • Instagram
  • Store and Resource Guide

Cactus Jungle!  Great Succulents in Berkeley, CA

11/26/2012

 
This weekend on our way back from an excellent Thanksgiving visit, my girlfriend and I stopped at a place called "Cactus Jungle."  It's located right off of hwy 80, near Berkeley's 4th St. neighborhood (close enough that you can walk to the other shops, but far enough away from them that parking is a snap).  We encountered healthy plants, helpful employees, and two cute, docile whippets that we wanted to take home with us.  Here are a few pics I snapped.
Picture
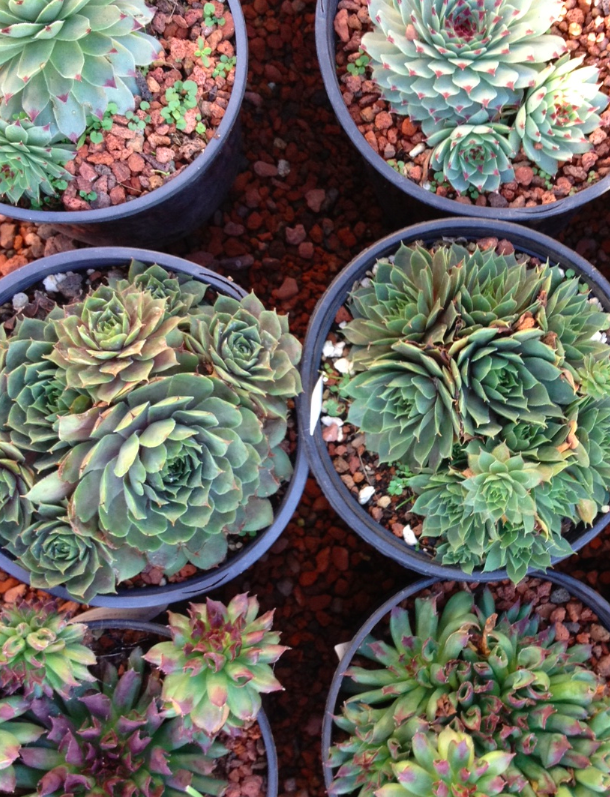
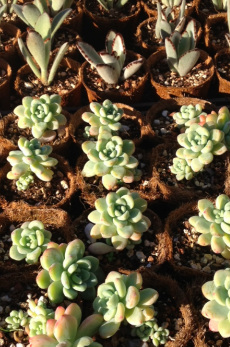
Plenty of semps and jovibarba
Picture
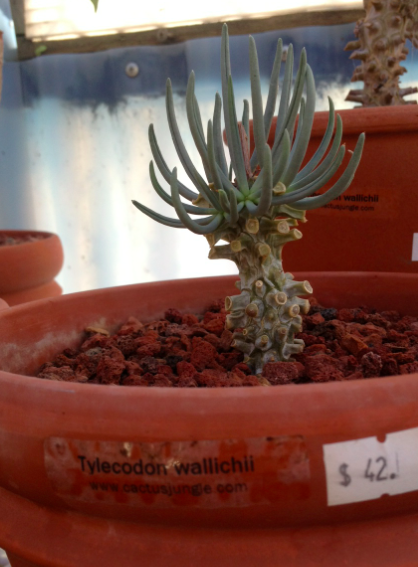
A tylecodon in their rare plants room
Picture
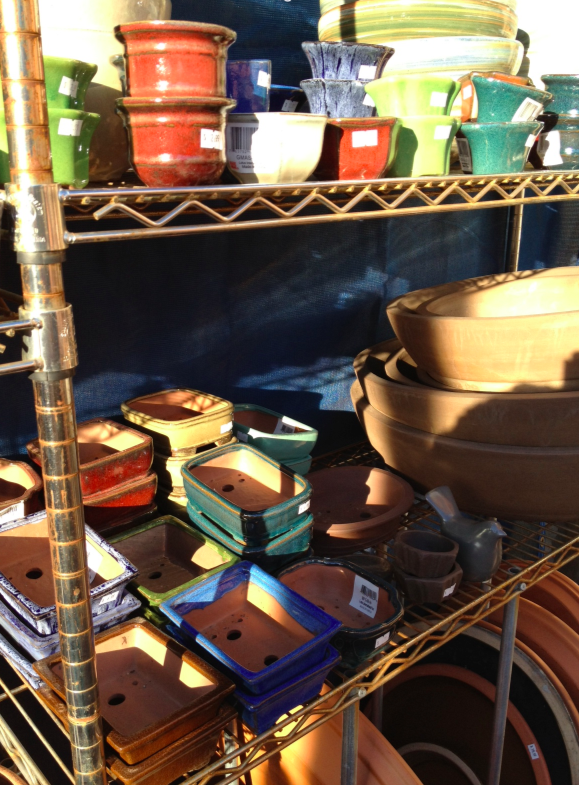
Great selection of pots, decent prices
Picture
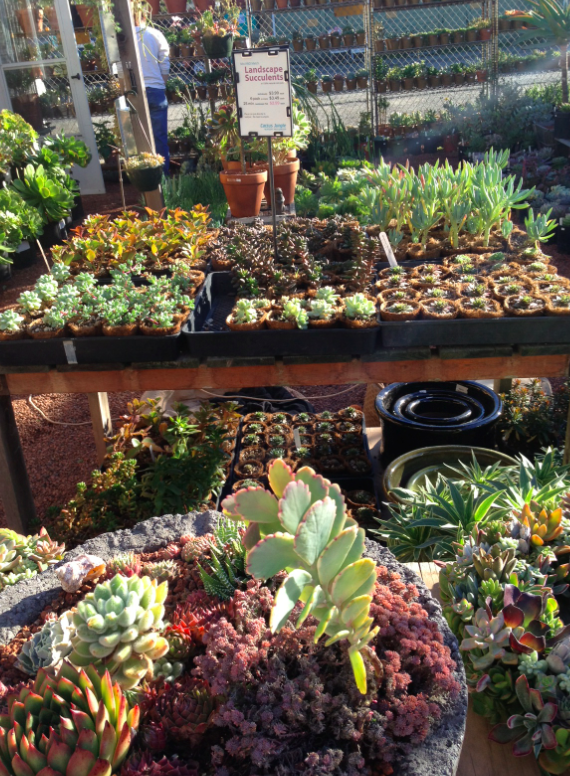
A great selection of plants at many different price points
Picture
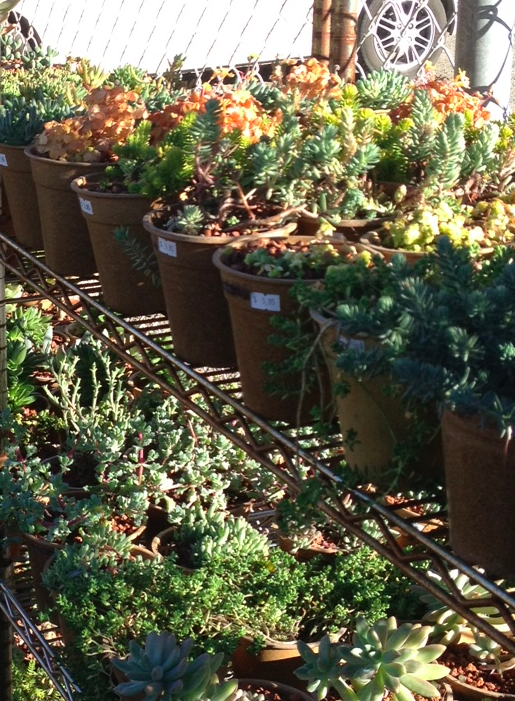
Arrangement by type made it easy to navigate.
Picture
"Echinocereus" sounds like the name of a dinosaur species.
Picture
The selection just kept on going...
Picture
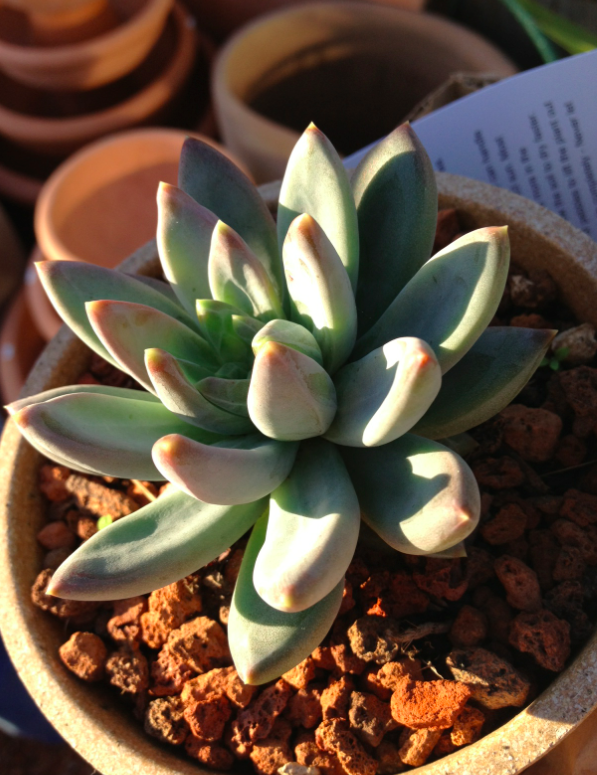
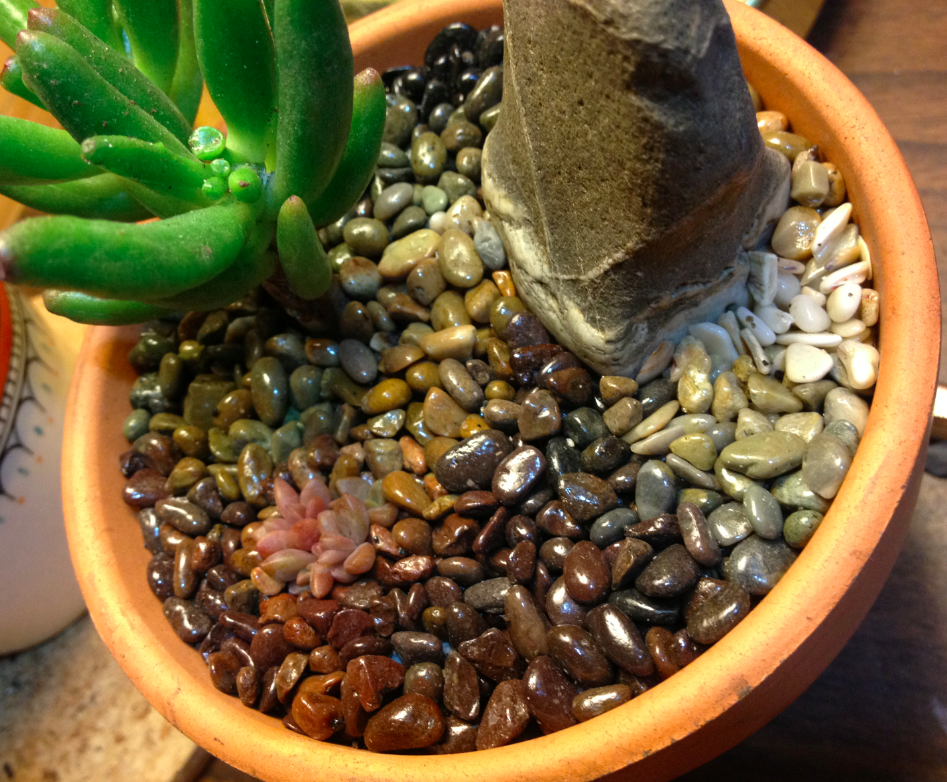
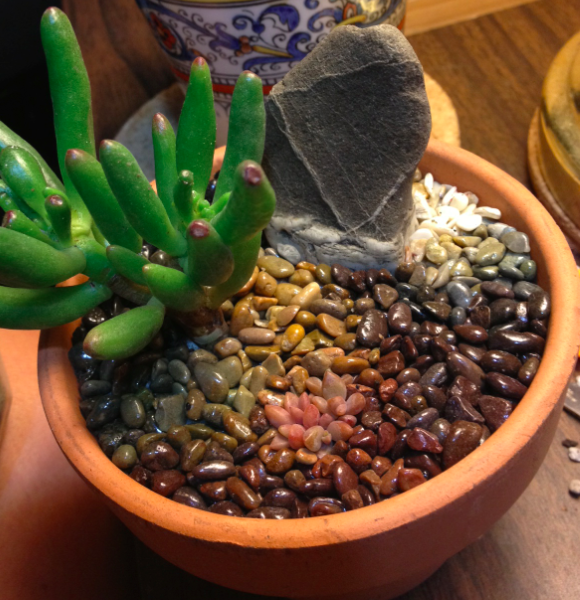
A pachyveria glauca I brought home
Our verdict?  This place is worth a trek--and we'll certainly be back! 

Who are you calling "detail-oriented?"

11/18/2012

 
I like using multicolored rocks to make a pot look "finished."  The ones I usually use (simply because I found a big bag of them for cheap) are pictured at right.  But then I got to thinking: what if the rocks themselves were a more central part of a composition?  Wouldn't that be cool?  (Answer: totally.)

Because I have been sick for a while I haven't been going out much, nor have I been able to concentrate on work...  so I had time to make the following (shown below from different angles): 
Picture
Picture
Picture
As you can see, I used the comeback kid (a crassula ovata gollum that I nearly killed last month), as well as a larger rock, to make a really spare-looking pot.  I also planted a third, very small plant.  Can you see it?  If not, look closer:
Picture
Cool, right?  Then I placed rocks of different colors throughout the pot, using that pink little plantlet as a starting point for my colors, since it looked like pebbles itself.  I tried to be pretty precise, letting the colors fade into each other.  The rocks I used were all from the mix I showed in the first picture.  I just spread them out on a light-colored surface so I could find different colors, then used forceps to place them where I wanted.

A spare composition, for your viewing pleasure.

11/17/2012

 
Picture
So here's one of my latest little compositions.  As you can see, I used mainly offsets for this--and I hope they'll grow all right, even though it's getting into winter.  Click on the picture for a larger image.

The pot I used is a bonsai pot, maybe six or seven inches by eight or nine inches.

Most of what I read about succulent design suggests bunching succulents together with little space between them.  While I agree that this can look extremely cool (and is usually what I try to do), I've been enjoying these "sparer" compositions lately, particularly with bonsai pots.

How about you?

Coffee Cup Planter!

11/14/2012

 
Picture
You know that coffee cup you rarely use, even though it's gorgeous?  I had one of those that a good friend gifted me a long time ago, but I don't use it often, because it's wide at the mouth and the coffee cools off too fast (I'm a notoriously slow coffee drinker).

Anyway, I decided I'd like to look at the cup more often and wanted to make a planter out of it.  The problem was drainage.  I'd heard that it's basically impossible for a novice to drill a hole in a ceramic cup.  This turns out not to be true. 

First, a word on cordless drills.  If you don't know how to use one, it's time to learn.  I don't care if you're a 105-pound woman with absolutely no interest in tools and a husband who does most of this stuff for you.  You need to learn because it will feel awesome and empowering and make a ton of little projects easier.  If you have no idea where to start, email me--I was clueless about cordless drills until recently.

Anyway, to drill a hole in a ceramic cup, you can use a diamond-tip drill bit, but don't need one.  I don't have one, so I plowed ahead with the set that came with my drill.  (My drill is similar to this one, but a 14.4 volt.)  I started with the smallest bit in my set.  I drilled and drilled, stopping occasionally to blow away the ceramic dust and make sure the bit hadn't burst into flames.  Starting is the hardest part; it takes forever to bust through the glaze.  You'll drill for five minutes and make an absurdly small divot in the bottom.  Don't give up.  If you break a couple bits, it's okay (I did).

Picture
Once your wee divot appears to have gotten through the glaze, switch to a slightly larger bit, maybe 1/16".  Don't apply much pressure, but enough to keep the drill steady and firm--about as much as you'd apply to an overstuffed deli sandwich that you're trying to squish down so you can take a bite.  Adjust the angle occasionally.  Adjust to a slightly smaller or larger drill bit.  Vary it.  Hum a tune.  Check your watch.  Talk to the cat.  Try to keep your eye on the drill.  When you least expect it--and probably when you're using your smallest bit--you'll penetrate through the cup!  Whoa!  Give yourself a second to bask in the glory of it!

Next, switch to the next size drill bit up, to widen the hole.  Then the next size up, then the next, then the next--you get the idea--until the hole is the size you want it.  I always adjust the angle of the bit, too, chipping away at the edges of the hole a teeny bit at a time.  Like I said...  this project requires patience.

When you're done--kabaam!  You have a cool planter that you can dress up any way you like.  To the left, you can see the one I made.  I used a paddle plant that was wallowing in a too-large container, then added some different-sized rosettes around it and finished it with some small, multicolored rocks.  I was pleased with how it turned out, and it's currently brightening up my kitchen.

For the Love of Propagation

11/12/2012

 
Picture
I love propagating succulents from leaves.  For many kinds of succs, all it takes is a leaf, a tiny bit of soil, and about 30 dollops of patience.  Here's what to do:

1. Pluck a leaf from your succulent.  Some of the easiest ones to propagate are graptopetalums, pachyphytums, and the fleshier echeverias and kalanchoes.  Make sure you pluck the leaf right from the stem, so that none of the leaf's flesh is still attached to the stem.  Fallen leaves often work, too. 

2. Place the leaf in soil.  I like to cover the base with just a few millimeters of soil.  You're supposed to wait a few days for a callus to form.  In my experience, this doesn't matter much, except with kalanchoes.  But it certainly won't hurt.

3. Water the soil lightly, at the base of the leaf, every other day or so.  I like to use a spray bottle and spray gently a couple times right at the base of the leaf.  Yes, this is more frequently than you'd water a full-grown succulent, but you have to coddle the baby leaves or else they'll dry out.  (But if you water them too frequently, not allowing them to dry between waterings, they'll rot.  This balance sounds harder to achieve than it actually is.)

Picture
4. Wait.  If you're really patient, wait for four or five weeks.  If you're like me (incredibly impatient), wait two weeks, pull the leaf out a little, and see if roots have started to grow.  This kind of disturbs the plant, though, so be gentle. 

5. Once roots start to grow, I like to put a plantlet in its own little 2" x 2" pot.  I water it based on the guidelines I explain in #3 above.  Then I wait some more.  Eventually (in three weeks or a month or six weeks--it varies based on the season and the type of plant), a baby plant will begin to emerge from the base of the stem, just like in the picture above.  So cool!

Of course, it will be quite a while before your plantlet becomes a full-sized plant.  But it's still incredibly cool to watch a gorgeous succulent go from nothing to awesomeness. 

For advanced propagation techniques, I highly recommend the book pictured above, which I talk about in more detail in my Books that Succ section.  So how about you, fellow succ-ers?  Do you propagate from leaves very often?  With great success?  Any great tips you can share?

<<Previous

    Subscribe by email:

    Picture
    Picture
    GS on Facebook
    GS on Instagram


    Other Succ-ers

    Succulents and More
    Danger Garden
    Cactus Jungle Blog
    Debra Lee Baldwin

    I Can Stop Tomorrow
    Rock Rose
    Sweetstuff's Sassy Succulents
    Spiky Obsession
    Succulents Forever
    The Succulent Perch


    Categories

    All
    Adromischus
    Aeoniums
    Agaves
    Aloes
    Blogs And Blogging
    Cacti
    Crassulae
    Echeverias
    Euphorbia
    Events
    Fun And Games
    Guest Posts
    Haworthia
    Kalanchoe
    Nurseries
    Pets
    Photos
    Plant Health
    Projects
    Propagation
    Public Gardens
    Q&A
    References
    Sempervivums
    Wish List
    Zone 5


    Archives

    January 2018
    May 2017
    November 2015
    October 2015
    August 2015
    July 2015
    June 2015
    May 2015
    April 2015
    March 2015
    January 2015
    December 2014
    October 2014
    September 2014
    August 2014
    July 2014
    May 2014
    April 2014
    March 2014
    February 2014
    January 2014
    October 2013
    September 2013
    August 2013
    July 2013
    June 2013
    May 2013
    April 2013
    March 2013
    February 2013
    January 2013
    December 2012
    November 2012
    October 2012
    September 2012

    RSS Feed